
Have you ever wanted to develop your own black and white slides? Traditionally there were two ways to show your photography: print and projection. We now often just scan for the Internet, but there is something pretty great about projecting your images. Even if you still just want to scan them, slides have a unique character and depth that makes this worth exploring anyway. But… I had always shied away from the highly toxic and carcinogenic dichromate bleach commonly used in reversal processing. Potassium permanganate and copper sulfate are other options, though permanganate is still not that nice and copper sulfate requires an extra step with ammonia. But, I recently encountered a video by Kelly-Shane Fuller explaining how he uses 3% hydrogen peroxide and vinegar as good bleach bleach for reversal processing: two reasonably safe household chemicals!
It’s the Christmas holidays here and I have a little time off work. So it’s time to learn something new. I decided to give it a try. With some assistance from folks at Photrio and a bunch of reading, I now have something that works reliably for me. Here’s what I am doing, and what I learned.
UPDATE Jan 31, 2021: Follow this article, but then I recommend using a much better bleach detailed in this newer post.
Other Options
Before digging in to this process, let’s take a look at the other options. In our current times there are two options that I know of that are commercially available for developing reversals: Process 13 in Germany, and DR5 Chrome in Stuart, Iowa. Process 13 runs the Agfa Scala process, invented by Agfa and named for the 200 speed specialized slide film that they produced under the same name. DR5 runs a proprietary process invented by David Wood, the proprietor. He has run a professional service for over 30 years, producing results that are by all accounts stellar. Both firms have excellent records and are known for producing high quality work.
There are a few commercial kits available:
- Fomapan R100 kit for Fomapan R100 film (widely distributed)
- ADOX Scala kit(Ships worldwide)
- Rollei reversal kit
- Photographer’s Formulary Kodak TMax reversal kit (USA)
- Bellini reversal kit
These are all good options and if you don’t enjoy experimenting and want to just get results, one of these kits is a good place to start.
Then there are some DIY options. Ilford publishes instructions for some of their films. They use a permanganate bleach and PQ Universal paper developer and the process is only is recommended for their slower emulsions. This gives reportedly excellent results if followed to the letter. I have not tried this process myself.
Grant Haist published a Kodak process for reversing Kodak Direct Positive Panchromatic Film 5246 that was originally published by Kodak in pamphlet J-6. I’ve found a copy of J-6 and you can find it here.
In the March/April 1988 issue of “Darkroom Techniques” magazine, Hans Dietrich published an article detailing his process for reversing TMax films. This is the process the Photographer’s Formulary kit is built around. I am hosting a copy of the article as presented on a web page back in the 1990s.
Finally, in about 2005 Jens Osbahr published a document covering his own process that was developed to replace the Scala process, which at that time looked like it would become unavailable. He uses Rodinal and a permanganate bleach. This is also worth a read if this is a topic you are interested in more generally. I’ve got a copy available for download on this site.
None of the above, except possibly the ADOX option, are as safe as 3% peroxide and vinegar.
How Reversal Works
Reversal processing takes a few more steps than regular black and white, and doing it well is a bit of a black art. But, the theory is pretty simple.
You make an exposure in the camera to form a negative image per your usual process. This image will then be removed and the remaining, unexposed silver halide will become the actual image you’ll have in the end. You develop the first/camera exposure in a very aggressive developer, one that will maximally develop every bit of silver halide that was exposed to light in the camera. You then put the film into a bath that will bleach away only the exposed and developed silver. What is left is undeveloped and unexposed silver halide. Following that, some processes then need a clearing bath to remove any yellow staining from the bleach.
Next we need to expose the remaining halide. This is done via a chemical process or by exposing the film to intense light. Chemical exposure is much more convenient—you don’t have to take the film off the spool—but for home development purposes, re-exposure to light is the simplest.
Once the rest of the film has been exposed fully, you pour in another very aggressive developer and develop the film to completion. Because you’ve now developed or bleached all the silver halide in the film, you very likely now have nothing left in the film to fix! A fixer step is probably not required, but is still a good idea to make sure there is no residual halide waiting to darken your images later on.
That’s it. What you now have is a positive image representing all the silver not originally exposed in the camera: a reversal.
Developing Slides
Here’s the process I used. I synthesized a bit of what was in the video with information from the above docs and advice on forums and came up with a slightly different take on the process but it’s fundamentally the same.
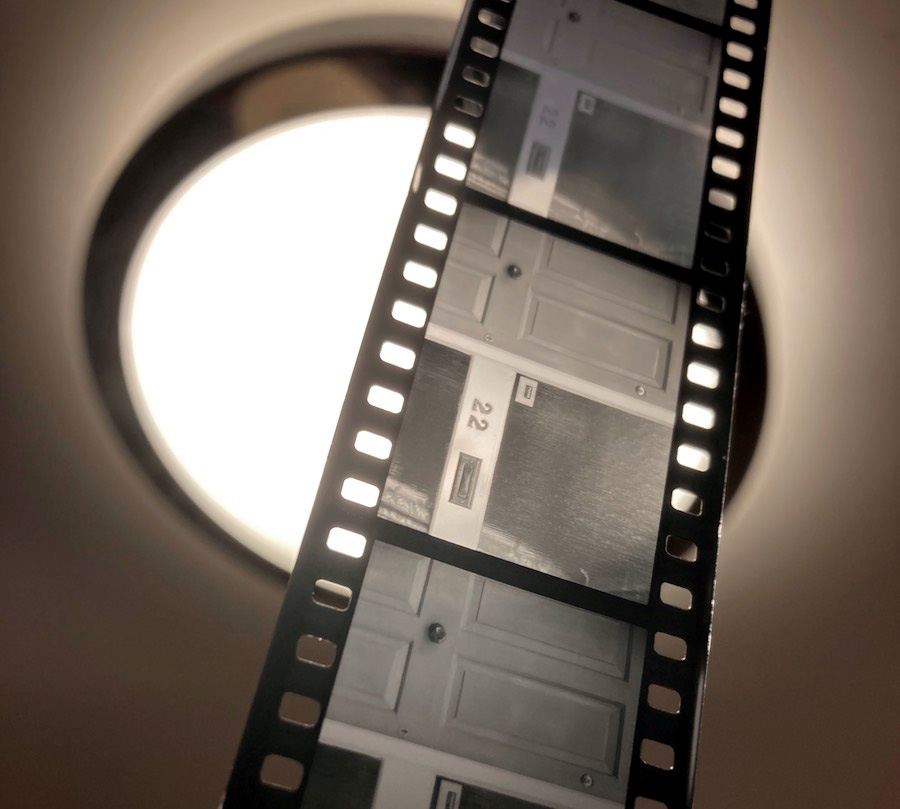
Here’s what the detailed results of my first successful attempt looked like:
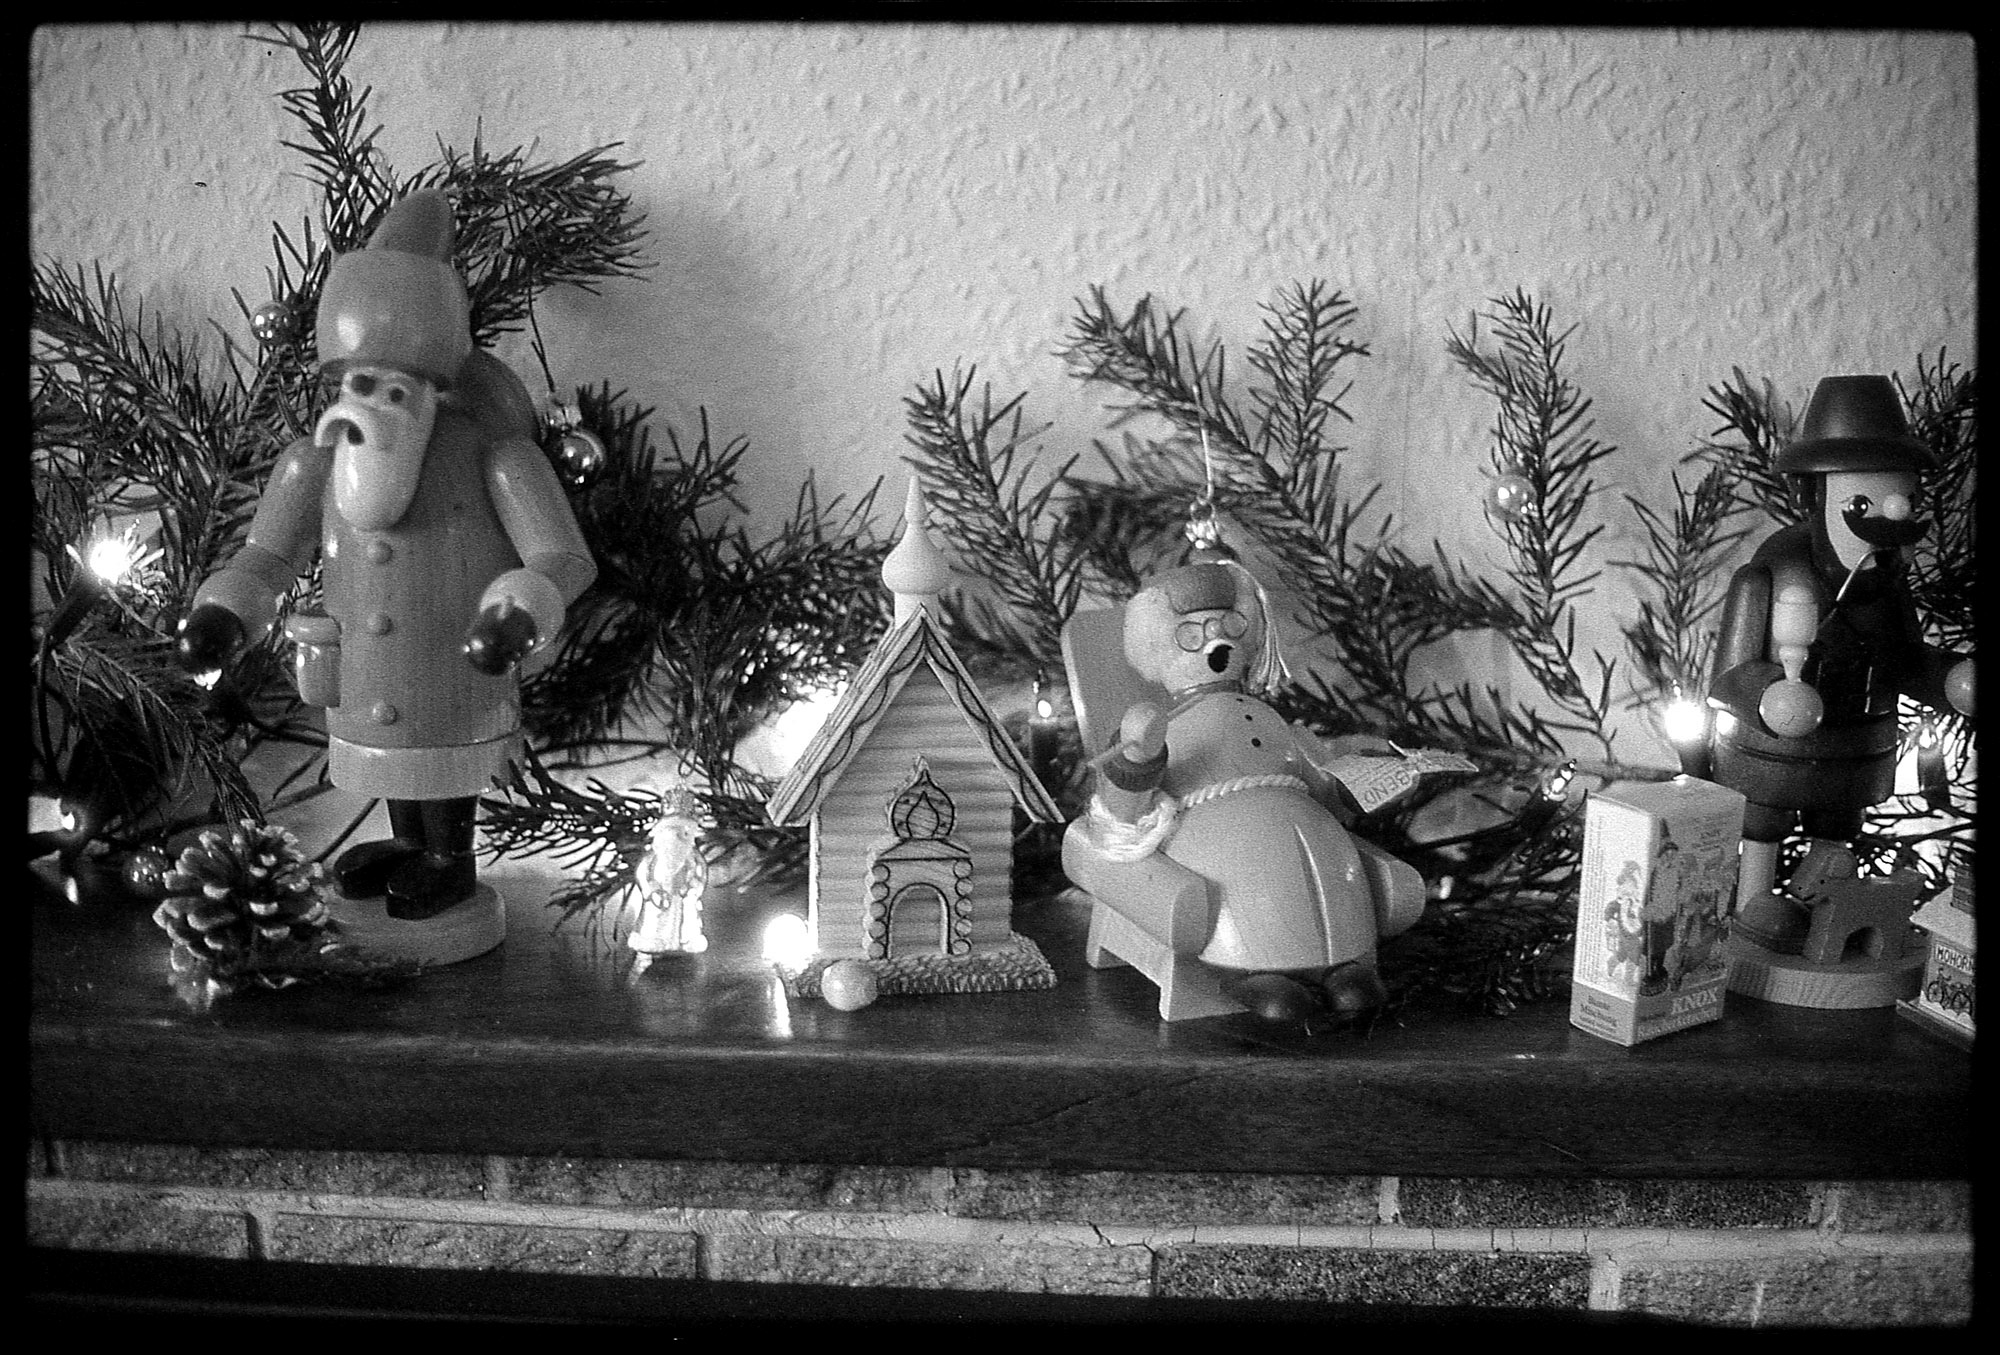
This is Fomapan 400 at exposure index 200 in my Yashica Electro 35 GSN. Fomapan 400 is not the ideal choice for this work but I have the remainder of a 100 foot spool I once ordered accidentally and this has become my experimentation film. The result is somewhat grainy for a slide, as you would expect from Fomapan 400, but the contrast is nice! The Electro is great for this kind of testing because the metering and shutter control are very good and return reliable results.
To get going, I recommend that you shoot a very short piece of film with at least 5 images on it. If you meter them all carefully and shoot them at different exposure indexes (+2, +1, 0, -1, -2), this will help you identify the speed you can expect from your film in this process. Ideally you would shoot a few different sets of 5 images for different scenes, including low light and bright sunlight. This way you can best assess how the process handles those conditions. For your first attempt, you don’t really want to waste a whole roll in case of screw ups. And a longer piece of film is going to be annoying to re-expose to light until you are used to it. I just shoot the frames, advance the camera one more frame, then open it inside my dark bag and snip the film off about a centimeter ahead of the film canister. Load the snipped film into your development tank and you are good to go. Use the rest of the film for another test.
This is what my strip of 5 looked like:

(Note that the EI 1600 exposure is not actually EI 1600 due to a mistake.)
I suggest that you watch Kelly-Shane’s video (linked above) to get a sense of the overall process before you get going. In the video he uses HC-110 for both developers. I am using Ilford Multigrade paper developer because paper developers are quite active and this is a pretty good fit. Plus, you can use very little paper developer and it’s much cheaper than HC-110 if you don’t already have HC-110. Most places that carry film supplies will sell it to you.
Developer
If you read the Ilford document I linked above, you will see that the first and second developers are mixed to different strengths, and the first developer contains sodium thiosulphate! If you don’t recognize that chemical name: it’s fixer. This is to help manage the density and to improve the highlights later. However, you really have to use the right amount for your particular film and if you get it wrong, you will end up with a blank strip of film. I did that. So, for our first try, let’s skip the thiosulphate and mix up both developers. The developer we’ll use for both first and second developer is:
- First developer: Ilford Multigrade Developer 1+5
- Second developer: Ilford Multigrade Developer 1+9
Follow the instructions on the label for these dilutions.
If you really want to run an eco-friendly process here from beginning to end, you could substitute something like Eco Pro or ADOX Neutol developers, which contain no Hydroquinone. I have not tried that, but it’s an interesting experiment in the future.
Bleach
The bleach, as described in the video, is 3% hydrogen peroxide and a few milliliters of white vinegar. Here in Ireland, it’s very annoying to get white vinegar, but everyone has distilled malt vinegar for their fish and chips, and this works fine! Note that if your vinegar contains noticeable organic matter, this may result in silver staining of your slides. But, use what you can get. White vinegar and distilled malt vinegar are somewhere between 5-8% acetic acid. Try to target that amount.
In the USA you can just buy 3% hydrogen peroxide at any drug store and most supermarkets. In other parts of the world this is harder to find. It’s available online in Europe in most places and that’s how I got it (APC Pure in the UK). Some chemists will stock it in small amounts. It possible to use it in explosives so it’s getting more and more controlled as a substance. In some places you may be able to get liquid peroxide as hair bleach, but the creams contain other ingredients and are probably best avoided unless you want to experiment.
Mixing the bleach:
- 300ml of hydrogen peroxide 3%
- 21ml white or distilled malt vinegar
You will need to run the bleach step warm at about 40 degrees celsius. A few degrees cooler seems to work, but 40 is a good target. Most films seem to handle this temperature just fine. When it’s time, you can easily heat it in the microwave. Do not overheat it. Use short times and check with a thermometer. DO NOT microwave peroxide stronger than 3% for hopefully obvious safety reasons. You might be a little concerned about the temperature, but so far in testing a number of different films, I have not seen a problem with emulsion lift or damage. Don’t try it for the first time with images you really want to keep.
 (bleaching in daylight)
Fixer
This is an optional step as described above, but seems worth doing since we’re experimenting here and may not get every last silver salt developed. Use your regular film fixer at regular strength. I use Ilford Rapid Fixer.
Running the Process
Now we’re ready to make some reversals! Here’s how to do it:
-
Develop 1 Run the first developer for 12 minutes at 20C. Agitate as you normally would. I invert twice every minute.
-
Wash at 30C. We use 30C to help keep the film from getting shocked by the jump to 40C in the bleach. Use at least three changes of water. Ilford Multigrade Developer really sticks to film so you may see the first two baths turn yellow. We don’t want to carry that over into the bleach! This can wreck your image.
-
Bleach at 40 degrees celsius for about 10 minutes. After about 5 minutes you should be able to open the tank and watch to see that the bleach runs to completion. You should see the whole film turn nearly the same color. Once nothing else is changing for awhile, you are done. For me this is about 10 minutes. Everything after this can be done in daylight! (not bright sun) You must leave the lid off your canister while bleaching, or it will blow it off. I agitate by rotation since I can’t put the lid on.
-
Wash in the same manner as above, at 30C.
-
Re-Exposure Take the film from the spool and hold it between your hands, one on each end. Use a tungsten or halogen light and really, really expose it. It’s amazing how much light the film really needs to get fully, absolutely exposed. 1 minute or so is probably enough. Keep the film back about 25-30cm from the light source. You should avoid sunlight or other UV light sources to keep the film from printing out. Additionally, fluorescent lights will likely not give you full exposure.
-
Develop 2 Run the second developer for 6 minutes at 20C.
-
Wash in the same manner as above, at 20C.
-
Fix as normal black and white.
-
Wash as normal black and white film.
That’s it! Ideally you now have a nice set of positive images with a decent contrast. Organic matter in your bleach (from the vinegar you used), or developer that carried over can result in some brown or yellow staining on the negatives. If you see that, you know what to change next time.
Wrap Up
That’s it! Major thanks to Kelly-Shane Fuller for this reliable and nice way to do your own slide development. I will definitely be doing more of this.
I plan to do more experiments, with different amounts of vinegar and with different peroxide concentrations (if I can get them), and will probably post more when I’ve done that.